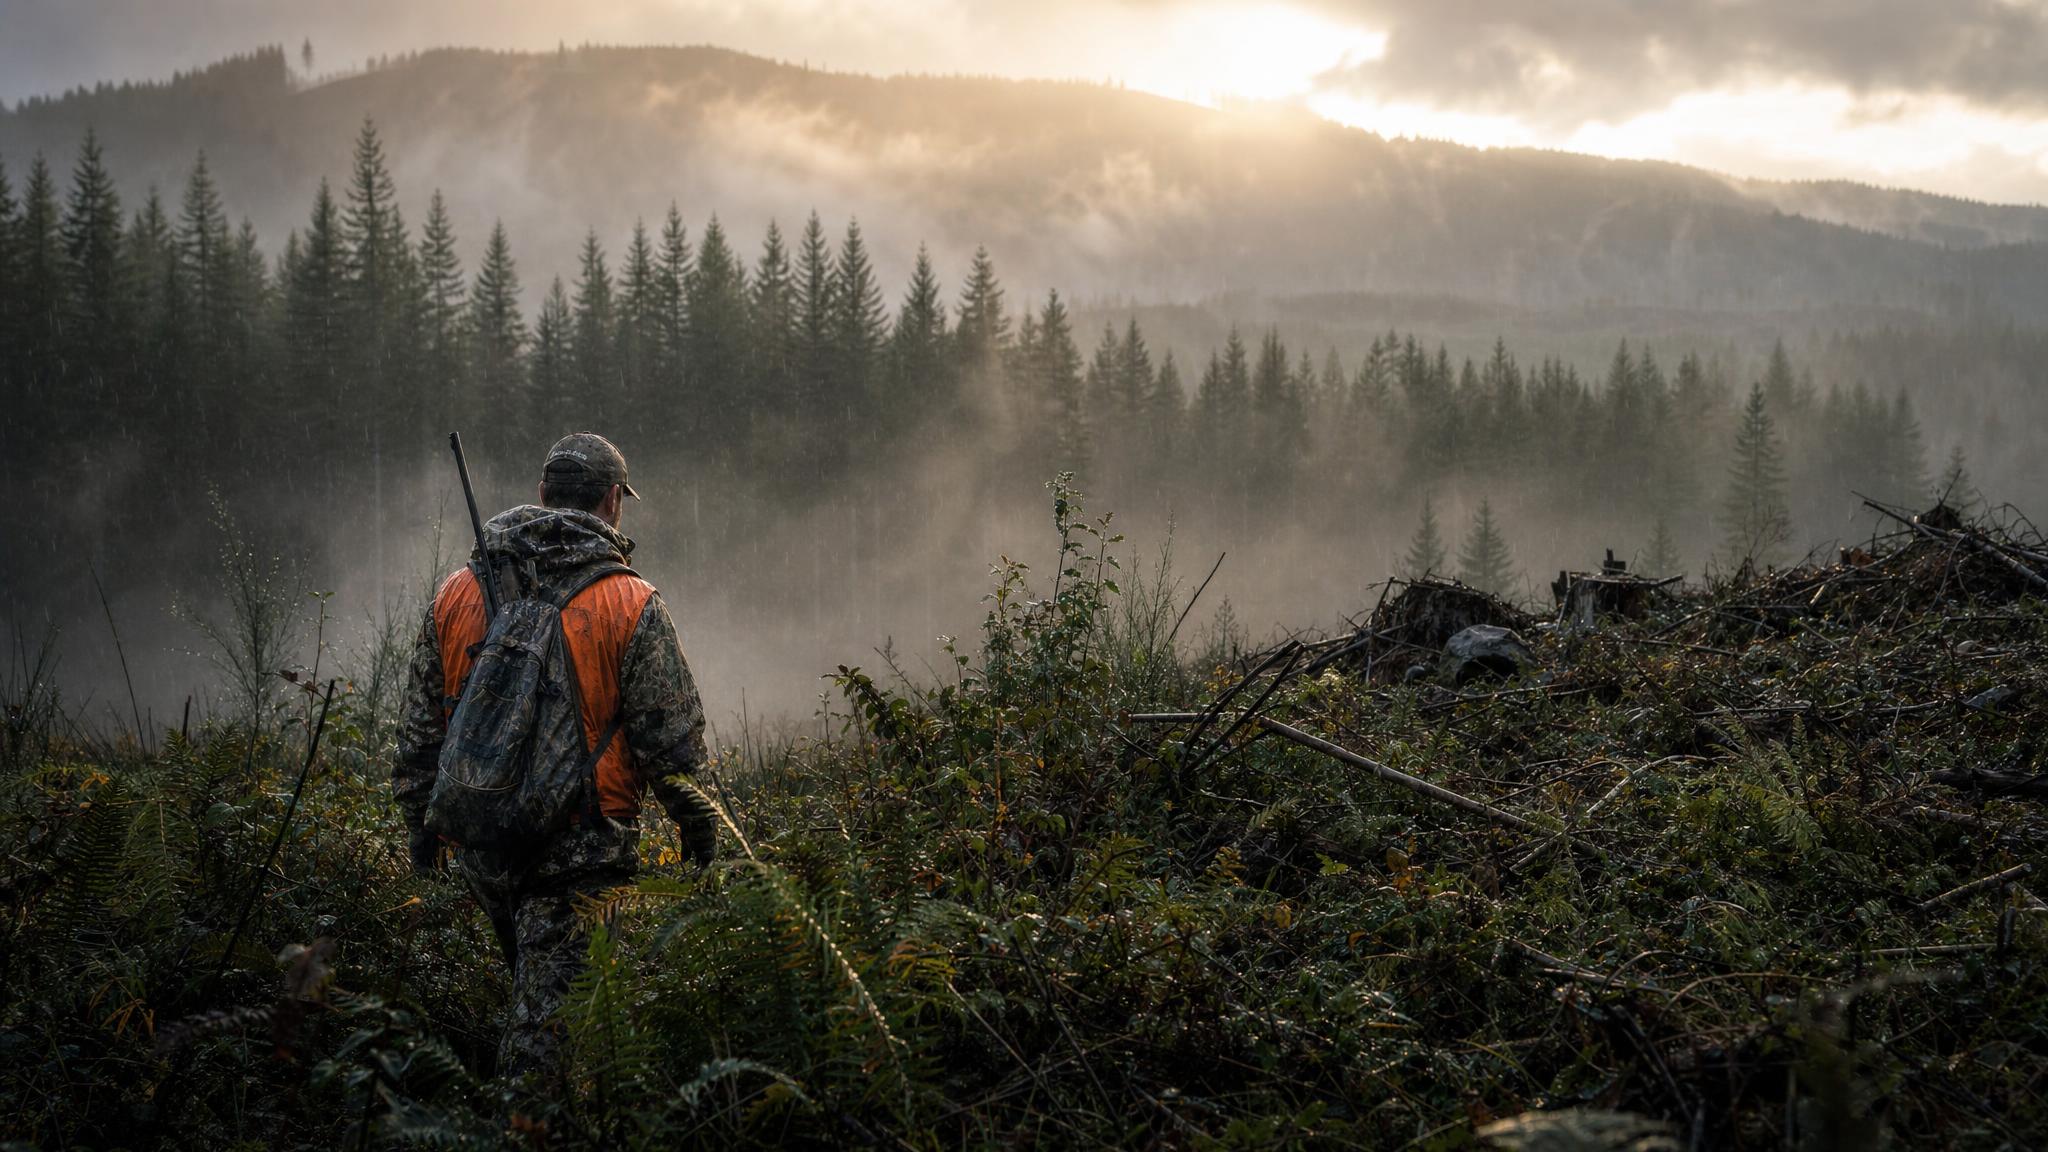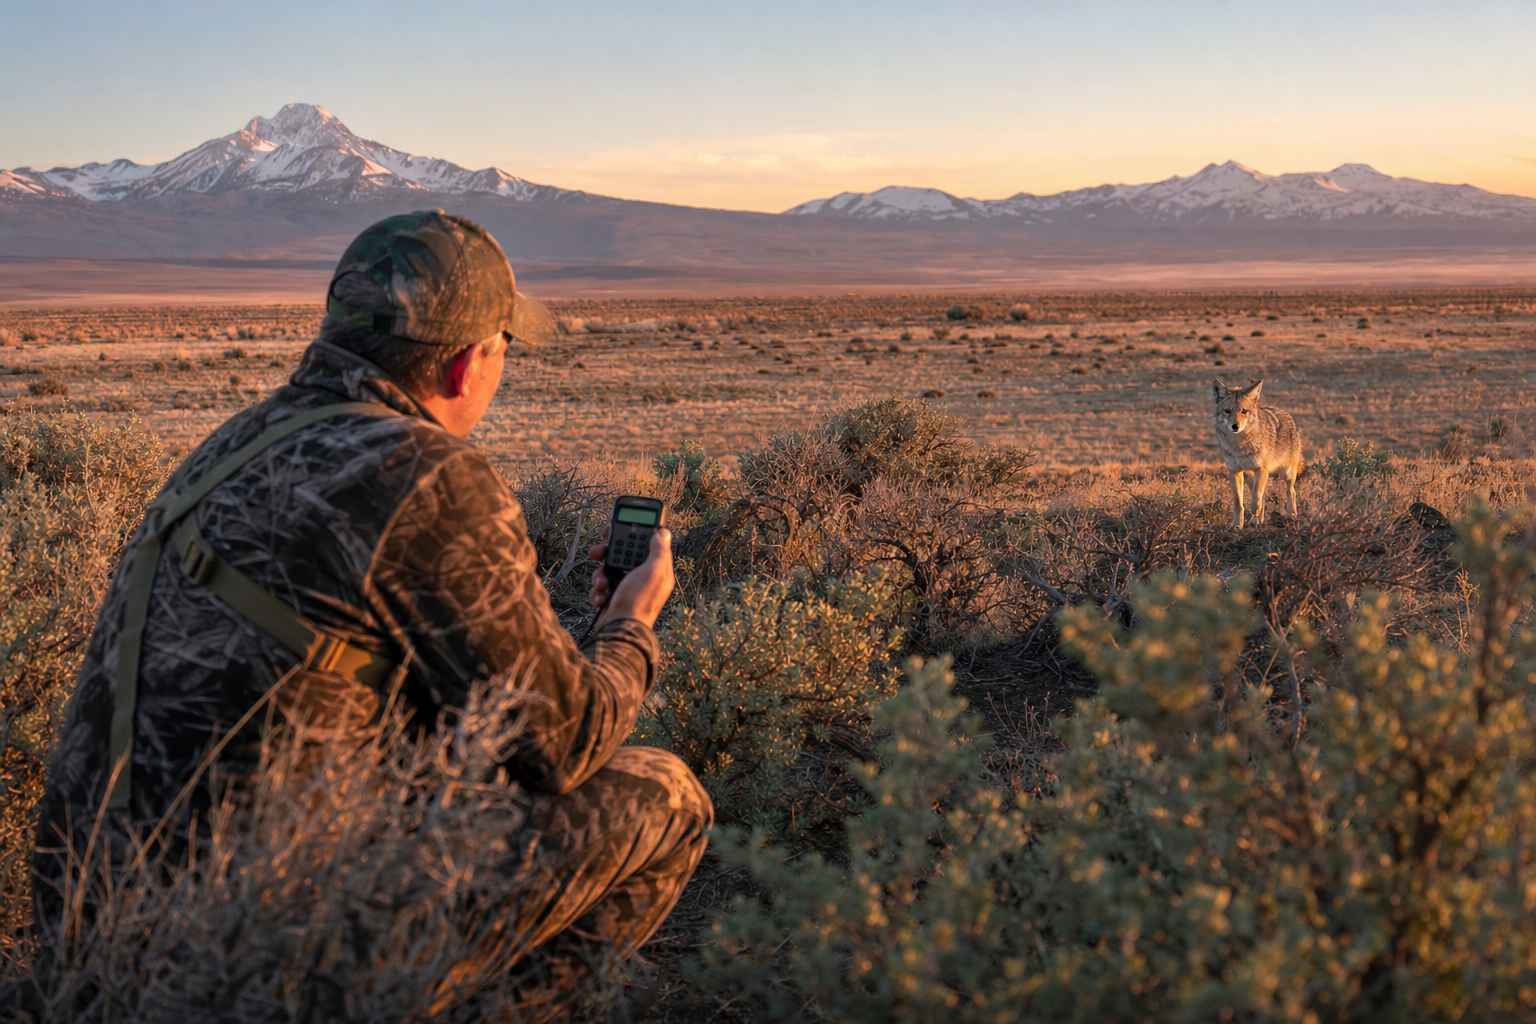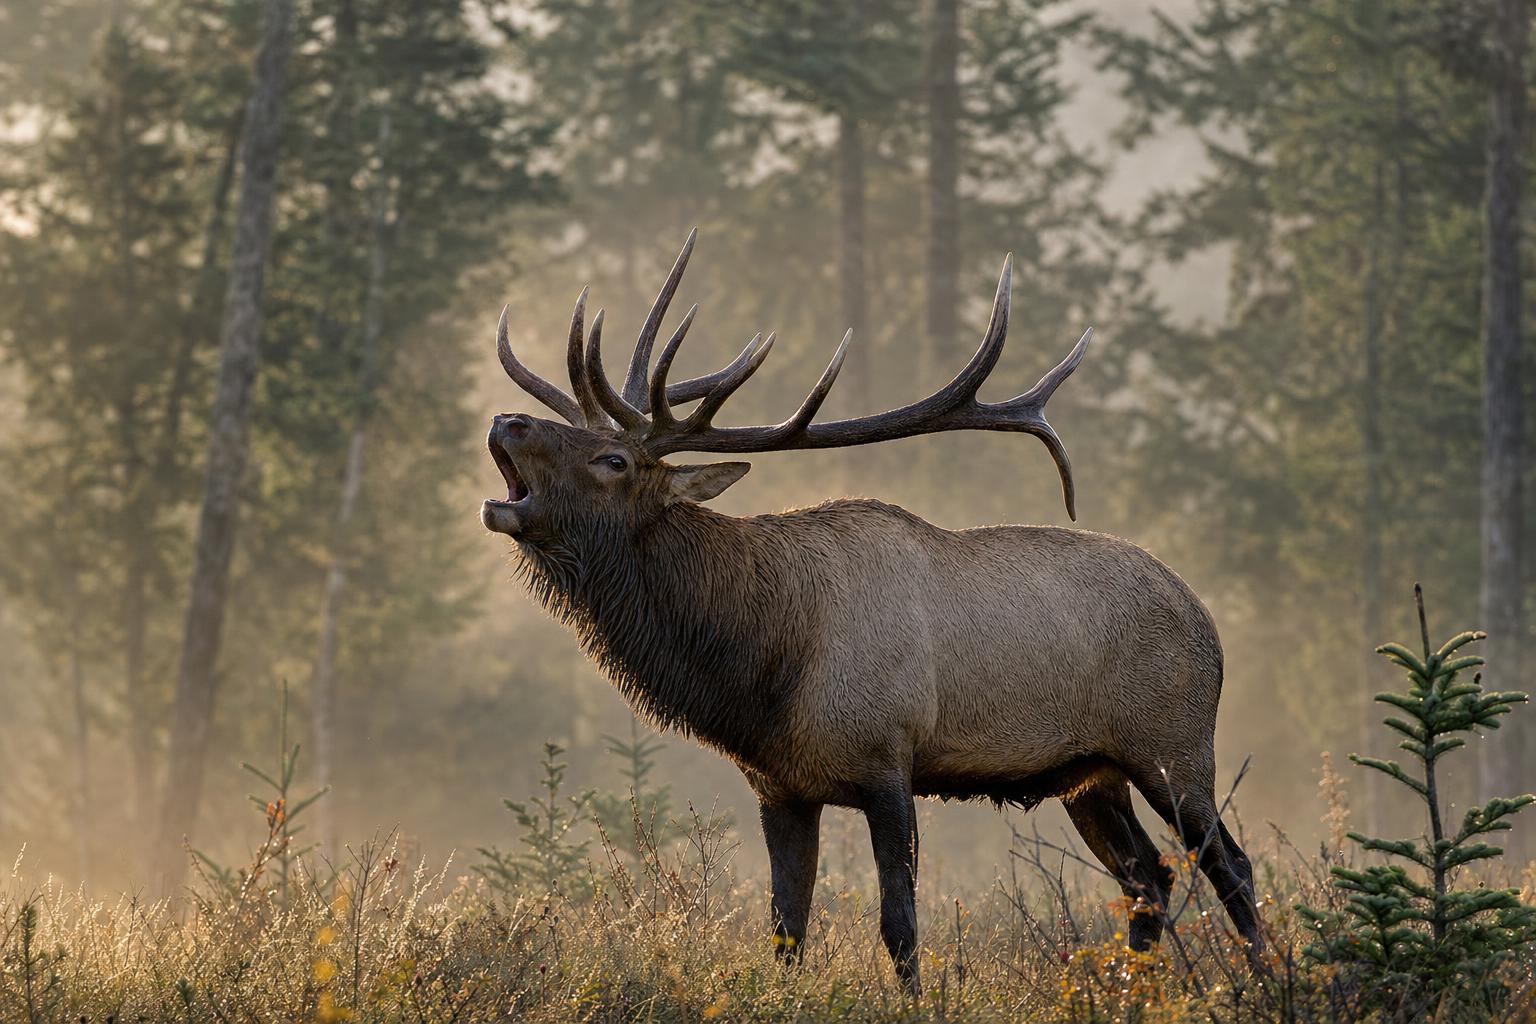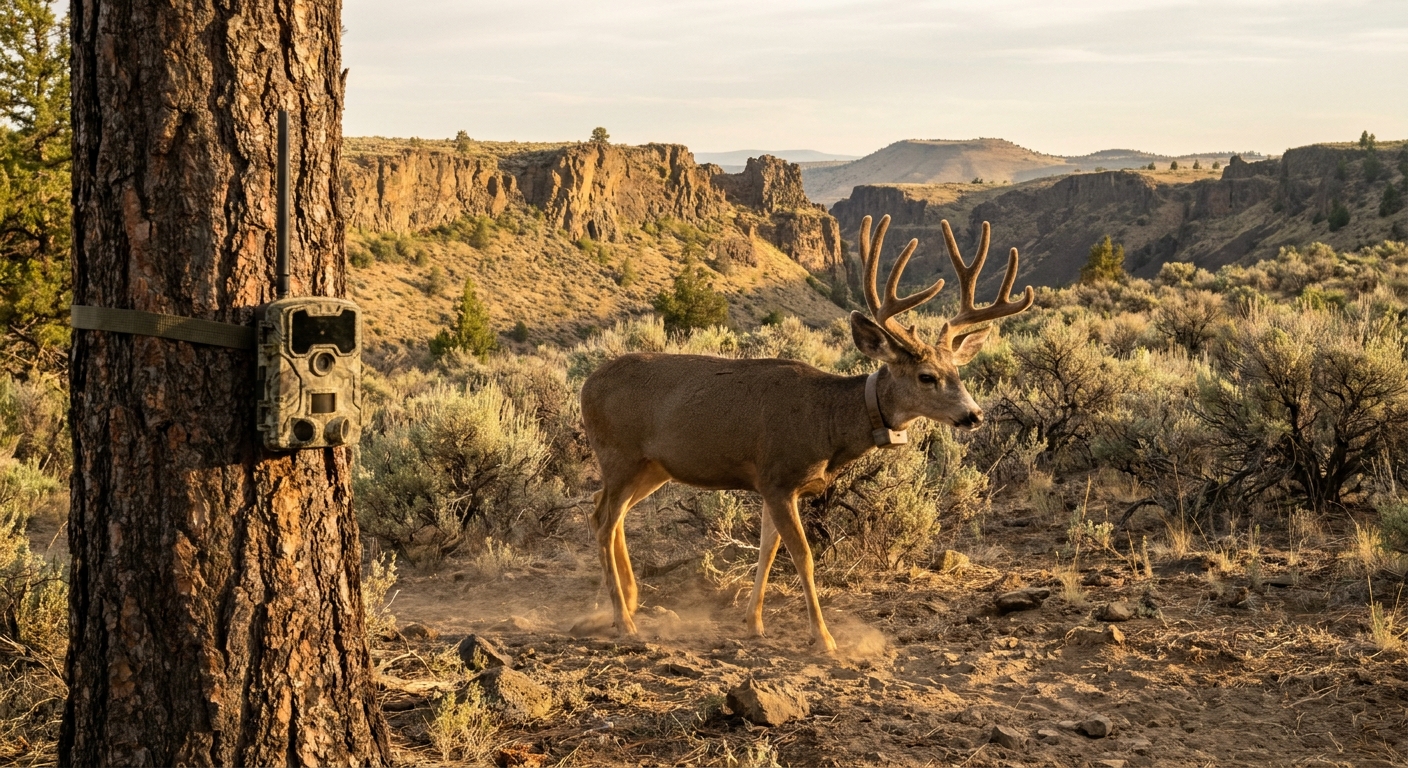
There was a time when pre-season scouting meant driving out to your hunting area every few weeks, pulling SD cards, and driving home to review hundreds of images of empty timber. That era is over. Cellular trail cameras now deliver real-time photos directly to your phone, and hunters who use them strategically are consistently putting their tags on animals that other hunters never see.
But cellular cameras are only as good as the strategy behind them. Here's how to set up a network that actually teaches you something useful before Oregon's archery openers arrive in August.
Choosing the Right Camera
The cellular trail camera market has matured significantly. A few platforms have separated themselves from the noise:
- Tactacam Reveal X Gen 2.0: Affordable monthly plans, reliable detection, solid battery life. The most popular option among Western hunters on a budget.
- Stealth Cam Fusion Pro: Fast trigger, good low-light performance, integrates with the Stealth Cam Command app.
- Spypoint Flex G-36: No monthly fee on basic plans, excellent for high-volume users running multiple cameras. Spypoint's AI filtering has improved substantially.
- Browning Defender Cellular: Best-in-class image quality, reliable network switching between AT&T and Verizon where one signal is weak.
Network coverage matters as much as camera quality in Oregon's backcountry. Before buying, check coverage maps for AT&T and Verizon specifically at your scouting locations. Deep canyons and north-facing timber draws — exactly where big deer and elk bed — are often cellular dead zones. Bring a phone and test signal before committing to a camera placement.
How Many Cameras Do You Actually Need?
More is not always better when you're paying $10–$15 per month per camera in data fees. Three to five well-placed cameras in a focused area will tell you more than a dozen cameras scattered across a large landscape. Think of it this way: you're not trying to inventory every animal on the mountain. You're trying to understand the movement patterns of specific animals in specific terrain.
A practical network for a one-unit Oregon mule deer or elk hunt might look like this:
- 1 camera on a water source (stock tank, spring seep, or small creek)
- 1–2 cameras on travel corridors — saddles, creek crossings, or bench trails between bedding and feeding areas
- 1 camera on a mineral site if you've established one legally
- 1 camera on a primary feeding area edge (meadow, burn edge, or clear-cut margin)
Placement Strategy: Where Oregon Animals Move in July and August
July and early August is velvet season. Bucks and bulls are in their summer feeding patterns, hitting predictable food and water sources on reliable schedules. This is the best time to inventory what's in your area — and the data you collect now is directly applicable to the archery season opener.
Water Sources
In eastern Oregon's high desert units — the Steens, Beatys Butte, Juniper, and Warner units — water is the single most powerful camera location you can pick. During July heat waves, deer and pronghorn will visit water sources two to three times daily. A camera positioned 15–20 feet off a stock tank at water level, angled slightly downward, will capture detailed face shots and antler photos that allow you to identify individual animals.
Mineral Sites
Velvet antler growth requires calcium, phosphorus, and sodium in quantities that natural forage alone often can't supply. Mineral licks — whether natural or supplemented — become focal points for velvet bucks and bulls from May through August. Check Oregon's current regulations before placing mineral supplements, as rules vary by game management unit and species. Natural licks, however, are always legal to camera-trap and are often more consistent than anything you create artificially.
Travel Corridors
For timbered units in the Coast Range, Cascades, and Blue Mountains, corridors matter more than destinations. Look for pinch points where terrain funnels movement: brushy saddles between drainages, downed timber that forces animals onto established trails, and creek crossings where steep banks limit where animals can step down to water. These locations produce daylight photos more reliably than open feeding areas, where animals often move after dark.
Reading the Data: What to Look For
Cellular cameras generate a lot of data fast. The hunters who use it most effectively aren't just looking at individual photos — they're analyzing patterns.
- Time stamps: Are animals hitting your location consistently in the last 90 minutes of light? That's actionable. Are they only showing up at 2:00 AM? You need to find where they're going at last light, not where they end up after dark.
- Wind direction correlation: Keep a simple log of wind direction on days with good versus poor activity. Big animals use thermals consistently. If your water source only produces photos on east-wind days, approach from the west on opening morning.
- Photo frequency: A buck that visits your water source daily in early July and then disappears in late July hasn't left the area — he's shifted his pattern as velvet hardening begins and his behavior changes. Don't abandon a site after one slow week.
- Animal inventory: Build a photo library of individual animals. Note distinguishing characteristics — unique tine points, split brow tines, scars, body size asymmetry. Recognizing the same buck across multiple camera locations lets you triangulate his core area.
Battery Life and Remote Maintenance
The whole point of cellular cameras is to reduce truck miles and human intrusion in your hunting area. Don't undermine that advantage by visiting cameras constantly to swap batteries. Invest in lithium AA batteries (last 2–3x longer than alkaline in temperature extremes), or upgrade to a 12V external battery pack with a solar trickle charger. A properly equipped camera should run from May through October without a site visit — which means your hunting area stays undisturbed right through opening week.
Set photo delays appropriately. A 5-minute delay on a travel corridor camera prevents a single deer crossing from burning through 200 triggers. A 30-second delay on a water source captures multiple visits from a single animal during a prolonged drink without generating duplicate photos you'll have to sort through later.
One More Thing: Cover Your Tracks
The biggest mistake hunters make with trail cameras — cellular or otherwise — is leaving too much human scent at the camera site. Wear rubber gloves when handling cameras and mounting hardware. Use scent-eliminating spray on the camera housing. Approach from downwind using the same path every time, and keep visits to early mornings when thermals are predictably rising.
The animal you want to tag in September is already patterned right now. Give your cameras time to find him, and let the data tell you where to be on opening morning.