Ask a group of handloaders what steps they perform on every piece of brass, and you'll hear the usual answers: resize, deprime, trim, deburr the case mouth, prime, charge, seat, and crimp. Most stop there. But two case prep operations that most shooters omit—primer pocket uniforming and flash hole deburring—address genuine sources of ignition variability that directly affect velocity consistency, and through velocity consistency, group size at distance.
You don't need these steps for casual plinking loads or hunting ammo that'll be fired inside 300 yards at a living target. But if you're building precision hunting loads for a 6.5 Creedmoor or .300 PRC, chasing sub-half-MOA groups from a precision rifle, or trying to understand why your ES won't shrink below 25 fps, these two steps are worth understanding and implementing.
Why Primer Pocket Depth Varies
Primer pockets are formed during the brass drawing process, and they're not dimensionally identical from case to case or lot to lot. The depth, diameter, and pocket geometry can vary by a few thousandths of an inch across a batch of mixed headstamp brass. Federal brass tends to have shallower primer pockets than Lapua or Norma. Even within a single headstamp, manufacturing tolerances create variation.
Why does this matter? A primer seated at slightly different depths across your lot will experience different amounts of anvil compression when the firing pin strikes. More compression typically means faster ignition; less compression means slightly slower, softer ignition. The result is shot-to-shot variation in ignition timing—which produces velocity spread, which opens groups at distance.
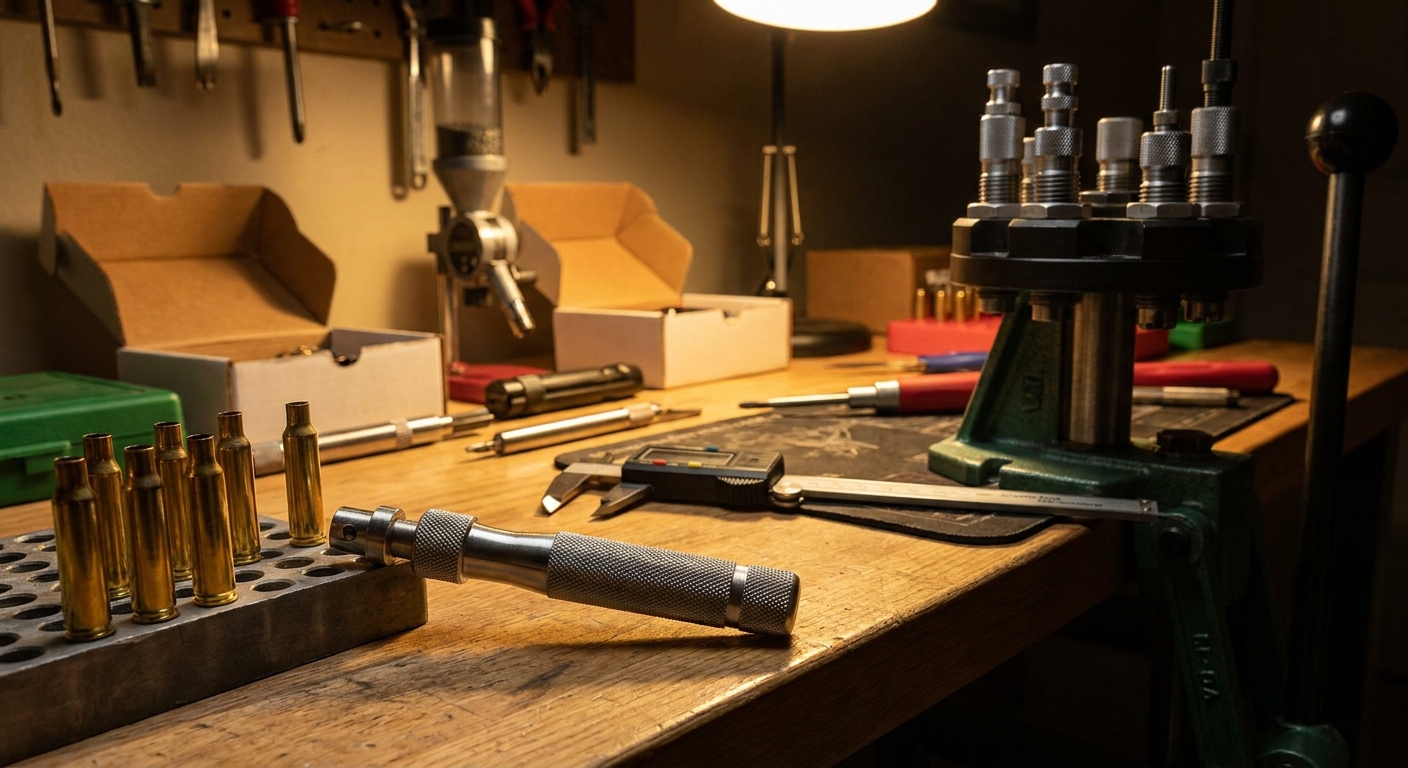
Primer pocket uniformers cut all pockets to a consistent, precise depth. The tool looks like a small end mill or piloted reamer that runs in a hand drill or RCBS/Dillon case prep station. You run it into the pocket until it bottoms out on its stop, removing the high spots and creating a flat, consistent surface for the primer to seat against. On once-fired factory brass, you'll typically see small curls of brass come off the first use. On subsequent firings of fire-formed brass, far less material comes off because the pockets have already been worked.
Tools for Primer Pocket Uniforming
Several manufacturers make quality uniformers:
- Sinclair/Brownells Primer Pocket Uniformer: The classic benchmark tool. Available in small and large primer sizes. Pilot fits the primer pocket for concentricity; the cutter removes material to a fixed depth. Runs in a hand drill or case prep center.
- RCBS Primer Pocket Uniformer: Similar design, slightly different cutter geometry. Works well with RCBS case prep kits.
- Lyman Case Prep Xpress: A motorized case prep station with built-in uniformer heads in both primer sizes. If you're doing high-volume precision prep, this type of station speeds things up considerably.
- K&M Primer Pocket Uniformer: A favorite among benchrest shooters for its precise depth control. Slightly more expensive but dimensionally very consistent.
Inspect the primer pocket under magnification before and after uniforming—a jeweler's loupe at 10x is adequate. A properly uniformed pocket will show a clean, flat, shiny floor with no tool marks from the original case forming process.
Flash Hole Deburring: What It Is and Why It Matters
The flash hole is the small hole at the center of the primer pocket that allows the primer's flash to ignite the powder charge. In factory brass, the flash hole is typically punched from the inside of the case during manufacturing. Punching leaves a small burr or raised edge on the interior side of the flash hole—facing up into the powder column.
This burr disrupts the uniformity of ignition in two ways. First, it creates irregular flash geometry that can direct ignition energy unevenly into the powder charge. Second, the burr itself can partially obstruct the flash hole, particularly in primer pockets that are already at the tight end of tolerance. The result is the same as unequal primer pocket depth: variability in ignition timing, and therefore variability in muzzle velocity.
Deburring the flash hole removes this protrusion and creates a clean, chamfered opening that delivers consistent, uniform flash. The operation is performed with a small, piloted flash hole deburring tool—essentially a reamer sized to the flash hole diameter with a guide that self-centers in the hole. You rotate it by hand three to five turns until the burr is removed; there's no power tool needed. On new brass, you'll feel the cutter biting; on previously deburred brass, it spins freely with no material removal.
Important: Only Do This Once Per Case
Flash hole deburring is a once-per-case-life operation. You do it when the brass is new, and you never repeat it. Repeated passes enlarge the flash hole, which changes ignition characteristics in the wrong direction. Mark your deburred brass with a Sharpie on the headstamp, or sort it from new brass, so you don't repeat the operation on subsequent reloading cycles.
When Does This Actually Matter?
These steps pay the highest dividends when:
- You're working with mixed headstamp brass, where primer pocket dimensions vary widely between manufacturers
- You're loading new, unfired brass for the first time (most new brass has flash hole burrs from the factory punch)
- You're shooting at 500+ yards and trying to shrink your vertical dispersion
- Your ES is stuck above 15–20 fps despite trying different powders and seating depths
- You're shooting a precision cartridge like 6.5 Creedmoor, 6mm BR, 6.5x47 Lapua, or any cartridge where your load dev has already addressed the major variables
For a hunting rifle that'll deliver shots inside 300 yards, the practical impact on terminal performance is minimal—a 15 fps ES at 250 yards moves your vertical dispersion by less than half an inch. But for a precision rig where you've already addressed powder type, charge weight, seating depth, and bullet selection, these two case prep steps are often the remaining variable that closes the gap between a 0.5 MOA rifle and a 0.3 MOA rifle.
Building It Into Your Process
The most efficient approach is to perform both operations on new brass before the first firing. Set up a case prep station with a uniformer and deburr tool, run every piece of new brass through both operations, and mark the cases as prepped. From that point forward, primer pocket uniforming on subsequent reloadings takes only a pass or two to maintain consistency; flash hole deburring is complete. The initial investment of time—roughly 30 seconds per case with a motorized prep station—pays dividends across the entire life of the brass.
Precision handloading is the discipline of eliminating variables. Primer pocket uniforming and flash hole deburring don't cost much in time or money, and they address real sources of ignition variability that downstream steps can't compensate for. Add them to your process and see what your groups tell you.