You've developed a solid handload. You've confirmed your zero at 100 yards. You've got a verified drop chart built from chronograph data. And then, at 400 yards, you pull the trigger on a clean mule deer buck and watch your bullet kick up dirt a foot to the right of the shoulder. Not a wind call error. Not a flinch. Scope cant — a canted reticle introducing lateral error that grew with every yard of distance, invisible at 100 but catastrophic at 400.
Scope cant is one of the most widespread, underappreciated accuracy problems in hunting rifles. It costs tags every season across the West, and it's almost entirely preventable. This guide covers how cant happens, how to diagnose it, and how to eliminate it before you head into the field.
How Scope Cant Creates Errors
When your scope's reticle is perfectly vertical and perpendicular to the bore, elevation corrections track straight up and dialing in 10 MOA of elevation moves your point of impact straight up. When the scope is canted — even slightly — elevation corrections introduce a lateral component. The trigonometry is straightforward: at 3 degrees of cant, a 10 MOA elevation adjustment introduces about 0.52 MOA of lateral error. At 400 yards with a load that needs 15 MOA of elevation correction, that 3 degrees of cant shifts your point of impact roughly 9 inches sideways.
Five degrees of cant — visually barely perceptible — produces lateral error of nearly 15 inches at 500 yards after accounting for the cumulative effect of elevation correction. These are miss-sized errors on a deer or elk vitals zone.
Sources of Cant
Scope cant enters a rifle at several points:
- Bases and rails: Picatinny and Weaver bases can be machined or installed with slight twist relative to the bore centerline. Even 0.5 degrees at the base propagates forward.
- Rings: Mismatched ring heights, rings not aligned to the rail, or rings overtightened unevenly all introduce cant.
- Ring lapping: Rings that haven't been lapped to match a specific scope tube diameter can grab unevenly, torquing the scope in the rings.
- Scope body irregularities: Higher-end scopes have tighter tube tolerances, but budget optics sometimes have adjustment housings that are not perfectly centered, giving a false level reference.
- The shooter: Even a perfectly leveled scope can be presented with cant at the moment of firing if the shooter naturally rolls the rifle slightly. This is shooting technique cant, distinct from mechanical cant.
Diagnosing Cant: The 100-Yard Test
A simple field test reveals whether your system has significant cant: Shoot a three-shot group at 100 yards at your standard zero. Then dial 20 MOA of elevation up on the turret without adjusting windage. Fire another three-shot group. With a perfectly level scope, this group should appear directly above your original group — same horizontal position, 20 inches higher (at 100 yards, 1 MOA equals approximately 1.047 inches).
If the second group drifts right or left of center, your scope is canted in that direction. The amount of drift tells you the cant angle. This test is most revealing at longer distances — run it at 300 yards for a clearer picture.
Tools for Leveling
Several tools make scope leveling straightforward:
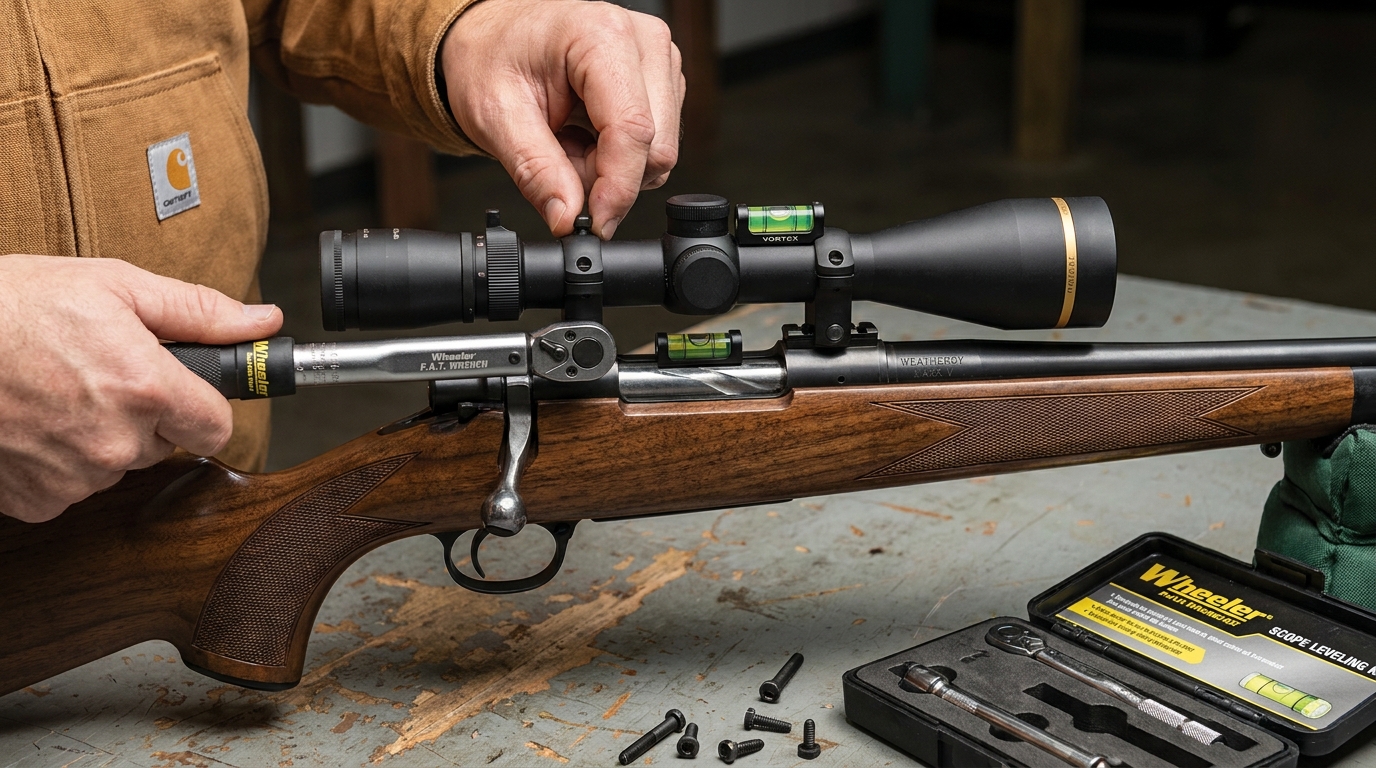
- Wheeler Engineering Scope Leveling System: The standard reference tool. Uses a base-mounted level and a scope-mounted level that align when both are correctly positioned. Allows leveling without a perfectly level shooting surface.
- Accu-Level system: Similar concept using a bar-mounted level on the flat of the action and a second level atop the scope. Very quick to use once you understand the reference points.
- Plumb bob method: Hang a plumb bob or fishing weight from a string at 25 yards. Align your vertical reticle to the string with the rifle in a stable rest. Slow but costs nothing and requires no special tools.
- Magnetometer apps: Several smartphone apps use the phone's magnetometer to function as a digital level. Results vary widely by phone — don't rely on these for precision work.
Step-by-Step Leveling Procedure
The following procedure works for standard Picatinny or Weaver scope mounting systems:
- Level the rifle: Mount the rifle in a stable rest. Place a precision machinist's level on the flat-bottomed ejection port or on a machined action flat. Adjust the rest until the rifle is perfectly level.
- Install the base level reference: Place a small torpedo level or the base component of a Wheeler system on the rail or scope base. Shim as needed until it reads level, confirming agreement with your action reference.
- Install rings (bottom halves only): Torque bottom ring halves to spec, no scope installed yet.
- Install scope in lower rings: Lay the scope in without torquing upper ring caps.
- Level the scope: Place your scope-mounted level on the elevation turret cap or a flat surface on the scope body. Rotate the scope in the rings until the scope level agrees with your base reference level.
- Torque upper caps in a cross pattern: Tighten ring cap screws gradually and evenly in a star/cross pattern, checking level repeatedly. Final torque for steel rings on steel screws is typically 15–20 in-lbs; aluminum rings are often 10–15 in-lbs. Follow manufacturer spec.
- Verify: Double-check all levels. Nothing should have shifted during the final torque sequence.
Addressing Shooter-Induced Cant
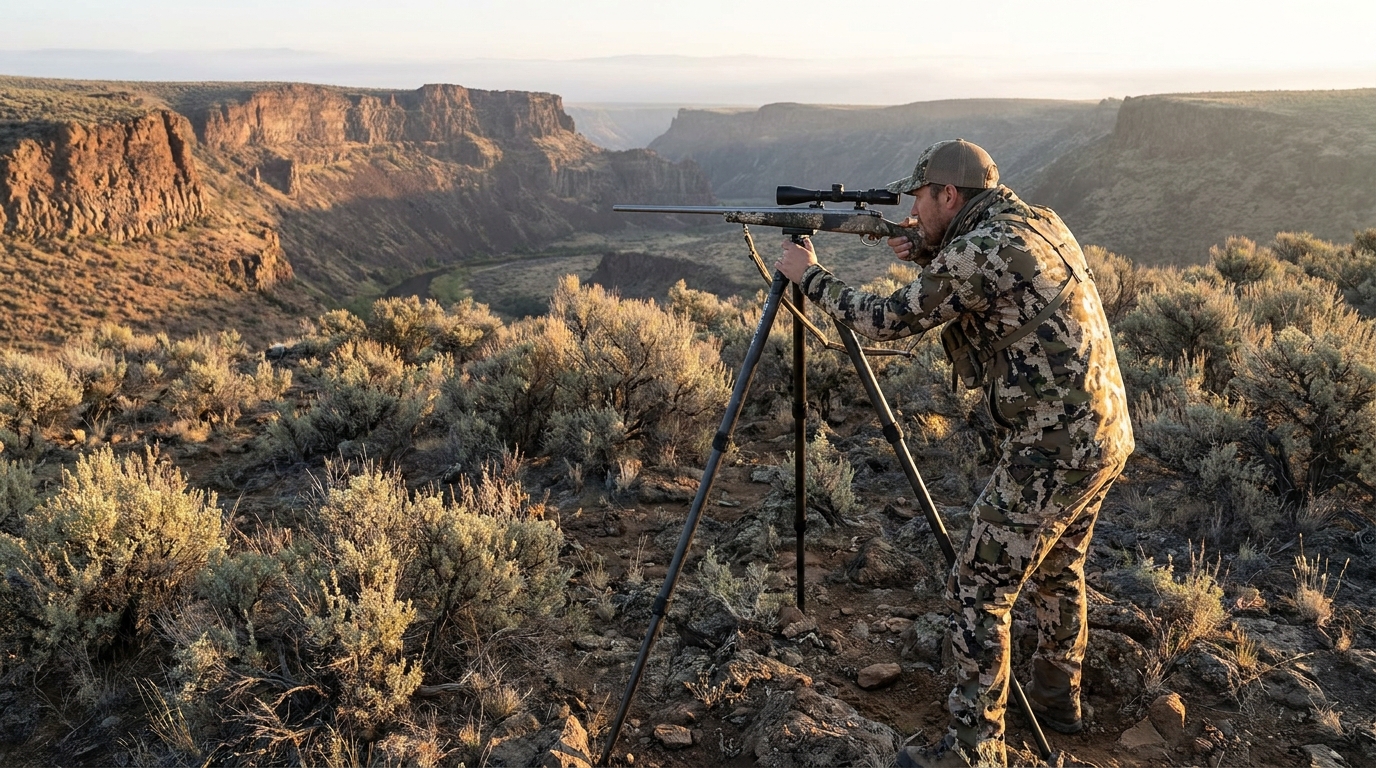
Mechanical cant is solved on the bench. Shooter-induced cant is a practice problem. Add a small bubble level to your scope's eyepiece or use an anti-cant device mounted to the rail. In the field, form the habit of referencing this level before breaking a shot at distance. Some hunters — particularly those who shoot from unconventional field positions or trekking pole rests — roll the rifle without realizing it. The level catches this before the shot.
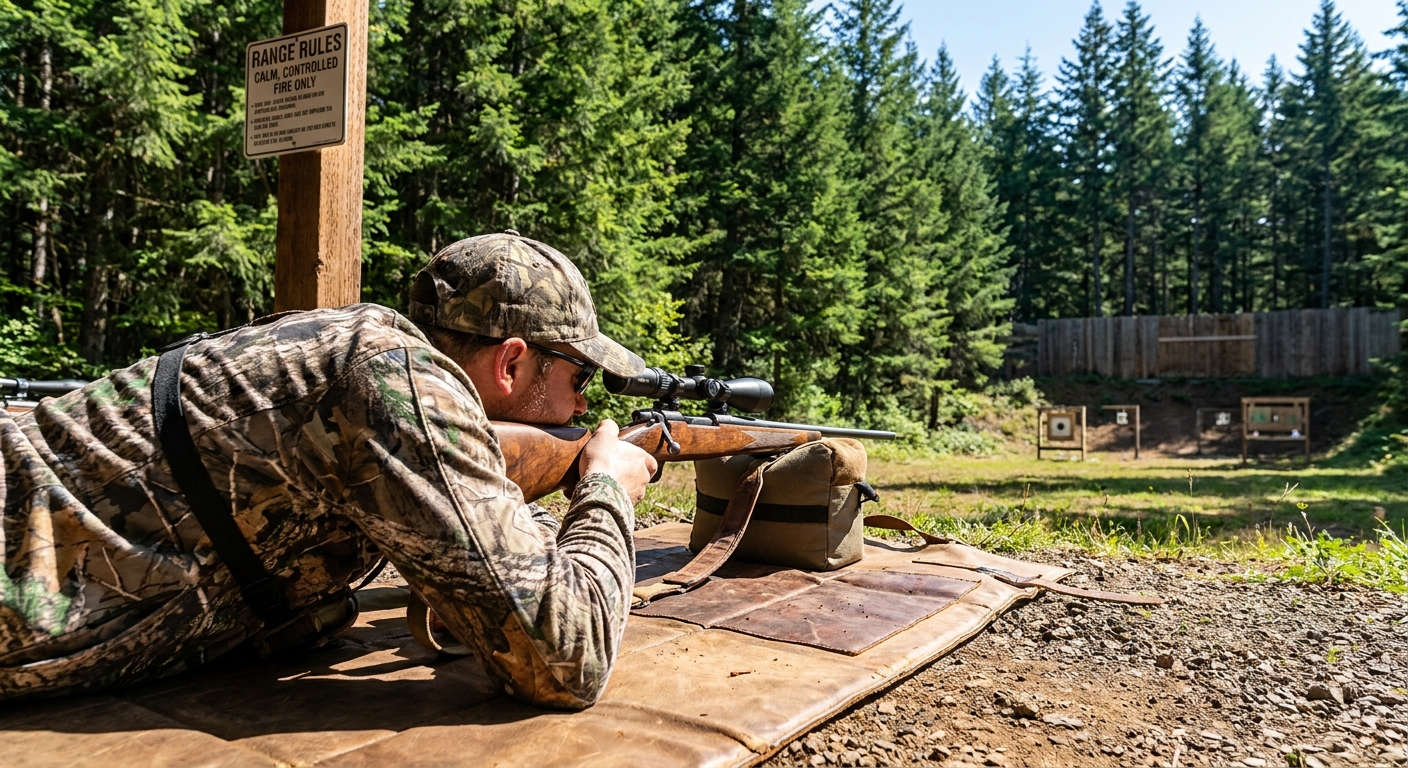
Prone behind a bipod, most shooters naturally level the rifle to gravity. Shooting from behind a pack, leaning against a tree, or in a sitting position introduces more cant risk. Practice in the field positions you actually hunt from, and develop the habit of checking your cant indicator before the trigger breaks.
After Leveling: Confirm with Live Fire
Once your scope is mechanically leveled, repeat the 100-yard elevation tracking test described above. A well-leveled system should show no horizontal shift when dialing up 20 MOA of elevation. If you still see drift, the issue may be in the base, the base-to-action fit, or an irregularity in the scope itself. In stubborn cases, contact your scope manufacturer — some optics have internal alignment issues that are warranty-covered.
The Bottom Line
Scope cant is a technical problem with a technical solution. It doesn't require expensive equipment to fix — just patience, the right tools, and a methodical approach. Level your scope correctly, verify it with live fire, and add an anti-cant reference for field use. The elk or mule deer you connect on at 400 yards this fall will be the payoff for the hour you spent on the bench in August.