Ammo prices are what they are. Range time costs money and travel time. But the skills that separate a competent shooter from a great one — trigger control, sight alignment, grip consistency, follow-through — can be built just as effectively at home with an unloaded firearm and fifteen minutes of focused practice. Dry fire is not a substitute for live fire, but for most shooters, it is the missing ingredient that live fire cannot efficiently provide.
Safety First: Non-Negotiable Rules
Dry fire has caused accidental discharges. That is a fact worth holding in your mind before every session. The procedure below is not optional:
- Clear the firearm completely. Remove the magazine. Lock the slide back (semi-auto) or open the cylinder (revolver). Visually inspect the chamber. Then physically check with your finger. Do this twice.
- Remove all ammunition from the room. Not the magazine — all of it. No box on the table, no rounds in your pocket. Physical distance from ammo eliminates the cognitive shortcut that causes accidents.
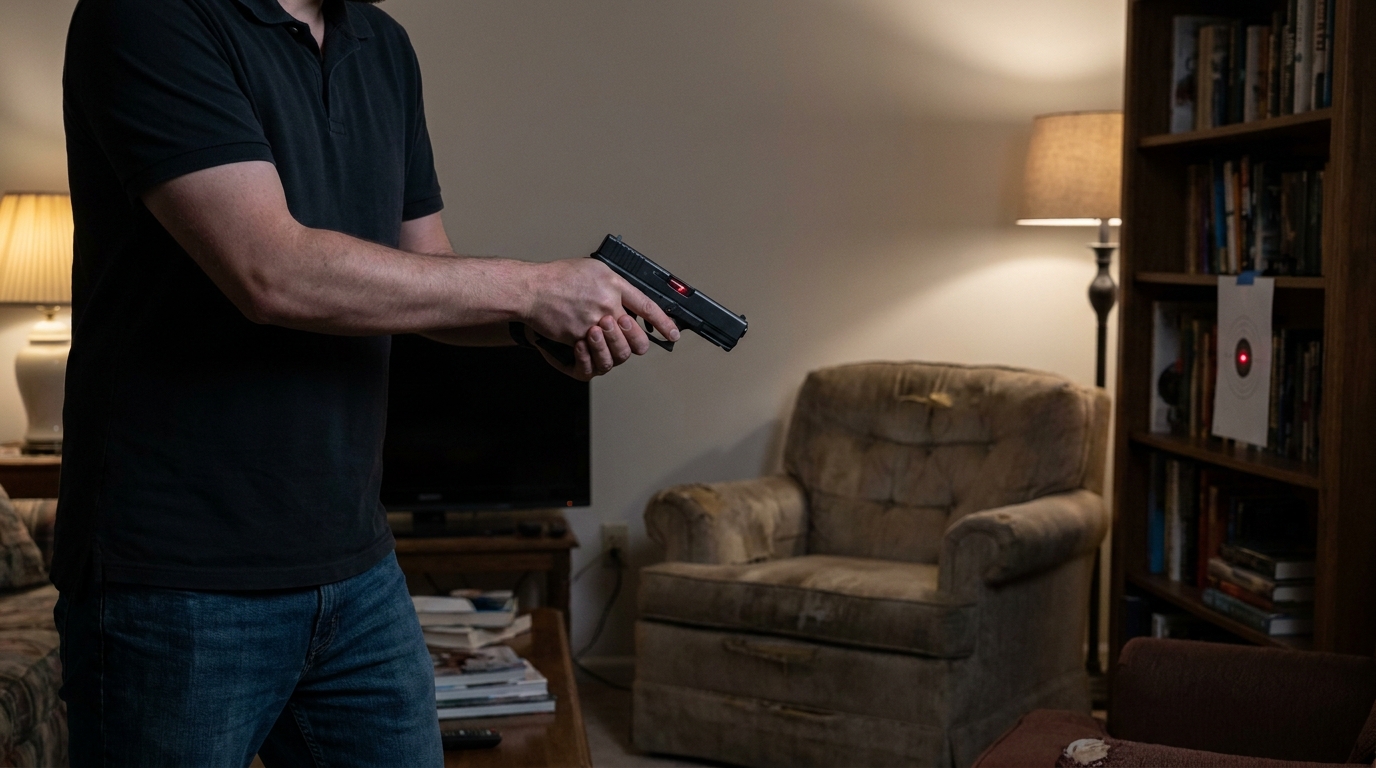
- Designate a dry fire backstop. Point at a wall, a target on a brick exterior wall, or a purpose-built target that would stop an accidental round. Even if your firearm is verified empty, the habit of pointing at a safe backstop is non-negotiable.
- Announce your sessions. Tell people in the house that you are dry firing. A simple announcement prevents someone from walking in and creating a dangerous startle response.
If you use a snap cap or dummy round for reset practice, remove it before the session ends and before you handle any live ammunition.
What Dry Fire Builds
Dry fire allows you to isolate variables that live fire hides. Recoil, muzzle blast, and anticipation all mask technique problems during live fire. Without them, you can feel and see exactly what your trigger finger is doing, where your sights are moving as the hammer falls, and whether your grip is consistent from shot to shot.
The skills that respond best to dry fire:
- Trigger press — smooth, consistent, without disturbing sight alignment
- Sight acquisition speed from the draw or ready position
- Grip pressure and wrist lock consistency
- Target transitions
- Support-side shooting (non-dominant hand)
- Positional shooting from sitting, kneeling, or prone
The Gear: What You Need and What You Don't
You do not need much to dry fire effectively. A safe room, a cleared firearm, and a target on the wall are the baseline. A few tools add measurable value:
Snap Caps
Spring-loaded snap caps (Tipton, A-Zoom) protect the firing pin during dry fire of certain firearms — particularly rimfire guns, older military surplus rifles, and some revolvers. Modern centerfire semi-autos generally do not require them, but check your owner's manual.
Laser Training Cartridges
Devices like the SIRT pistol, Mantis Laser Academy, or LaserHIT insert into your chamber and emit a laser pulse when the firing pin strikes. Paired with a smartphone app and a reflective target, they provide immediate visual feedback on where your shot would have impacted. This is the single biggest upgrade to a dry fire program — seeing your shot call versus where you actually broke the shot reveals patterns you cannot diagnose by feel alone.
Mantis X System
The Mantis X sensor attaches to the rail or magazine of your firearm and uses motion sensors to track the gun's movement during the trigger press. It displays a shot trace on your phone — showing wobble, trigger slap, anticipation, and flinch in real time. For a disciplined shooter diagnosing a specific problem, it is extremely useful.
A 15-Minute Dry Fire Program
Structure beats randomness in dry fire. Here is a practical daily session for a handgun shooter preparing for hunting season or general improvement:
- Minutes 1-3: Draw and present. From holster or ready position, draw to a two-handed grip and present to the target. Focus on consistent grip acquisition at the draw, not speed. Twenty reps.
- Minutes 4-7: Trigger press with focus. From the low-ready or presented position, press the trigger while watching the front sight. The sight should not move when the hammer drops. Fifteen reps with deliberate focus.
- Minutes 8-10: Target transitions. Set up two targets (patches of tape on the wall work fine). Draw and acquire target one, press, then transition to target two and press. This builds the mechanics of looking first, then bringing the gun.
- Minutes 11-13: One-handed shooting. Strong hand only, then support hand only. Five reps each. Weak-hand shooting is almost always worse than expected — dry fire reveals the gap.
- Minutes 14-15: Field positions. Get on a knee or prone and run the same trigger-press drill. The grip and sight picture change from these positions; practice makes the adjustments automatic.
Dry Fire for Hunters
For hunters, dry fire pays off in scenarios that matter: the shot from field positions with shooting sticks, bipod, or a tree branch; the moving target requiring a deliberate swing and trigger press; the cold-hands elk shot at first light after a hard approach. These are situations where physical fundamentals either hold up or fall apart. Dry fire builds the fundamentals so deep they do not require conscious thought.
Before every hunt, spend a week of 10-15 minute dry fire sessions from the positions you will likely shoot from. If you are hunting from a blind, practice seated shots. If it is a mountain spike camp, practice sitting, kneeling, and using your pack as a rest.
Making It a Habit
The barrier to dry fire is not effort — it is habit formation. Link your sessions to an existing routine: after dinner, before bed, during a commercial break. Keep your cleared practice gun accessible. The goal is consistency over intensity. Ten minutes every day for a month will do more for your shooting than two hours at the range once a month. The range confirms what dry fire builds.